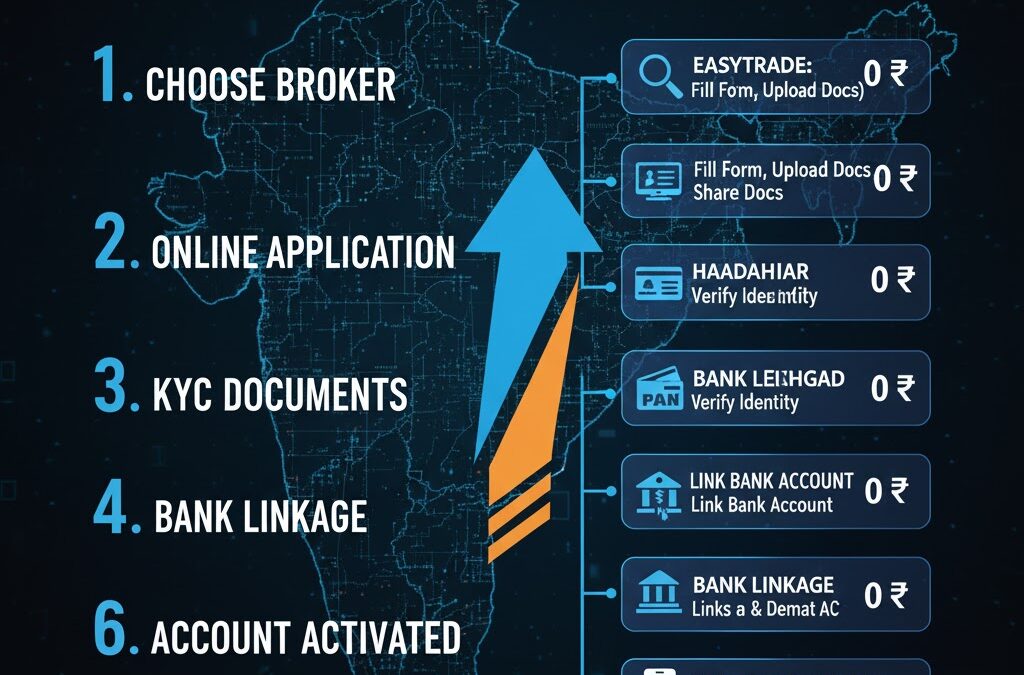
Gone are the days of printing out thick application forms, signing in dozens of places, attaching physical photographs, and waiting weeks for your Demat account to open. In 2025, the entire process is 100% digital, paperless, and incredibly fast.
Thanks to the e-KYC (Know Your Customer) process, you can get your Demat and Trading account approved and ready to invest in as little as 15 minutes to a few hours, all from your smartphone.
The process is standardized across almost all major stockbrokers in India, whether you choose Groww, Zerodha, Angel One, or any other online platform. This guide will walk you through the exact step-by-step process.
📋 Section 1: What You Need Before You Start (The Essentials)
To ensure your application goes through without any rejection, have these 6 things ready before you begin. This is the most important step.
- PAN Card: This is mandatory for all financial transactions in India. Your application cannot be processed without it.
- Aadhaar Card: This is the foundation of your entire e-KYC.
- Aadhaar-linked Mobile Number: This is the most critical requirement. Your final application will be “e-Signed” using an OTP (One-Time Password) sent to the mobile number registered with your Aadhaar. If your number is not linked, you must visit an Aadhaar enrollment center to do it first.
- Bank Account Proof (in Your Name): You need to link a bank account for all your financial transactions (adding and withdrawing money). Have one of the following ready:
- A cancelled cheque (your name must be printed on it).
- The front page of your bank passbook (clearly showing your name, account number, and IFSC code).
- Your latest 1-month bank statement (PDF).
- Your Signature on White Paper: Take a plain white sheet of paper and sign on it with a pen. Take a clear, well-lit photo of this signature.
- A Smartphone/Webcam: You will need to complete a live “In-Person Verification” (IPV) by taking a selfie or a short video.
If you have these 6 items, your account opening will be seamless.
🚀 Section 2: The 5-Step Online Process (Step-by-Step Guide)
Here is the exact journey you will follow on the broker’s app or website.
Step 1: Start Your Application
Visit the website or download the mobile app of the broker you have chosen. You will start by entering your mobile number and email address. You will verify both using OTPs.
Step 2: Verify Your Identity (PAN & Aadhaar)
This is the core e-KYC step.
- Enter PAN: You will be asked to enter your PAN card number and your date of birth. The system will instantly verify your details with the income tax database.
- Enter Aadhaar: You will then enter your 12-digit Aadhaar number. You will receive an OTP on your Aadhaar-linked mobile number. Entering this OTP allows the broker to fetch your details (like your name, address, and photo) directly from the government’s DigiLocker system.
Step 3: Fill in Your Personal Details
Thanks to Aadhaar, most of your details will be auto-filled. You will only need to add a few more pieces of information:
- Personal Info: Your marital status, mother’s name, and father’s name.
- Professional Info: Your occupation (e.g., Salaried, Student, Business, Homemaker) and your annual income (e.g., “Below 1 Lakh,” “1-5 Lakhs”). This is a mandatory regulatory requirement.
- Nominee Details (Highly Recommended): You will be asked to add a nominee. As per new SEBI rules, this is a very important step. A nominee is the person who would inherit your shares in case of an unfortunate event. It’s best to add one (you’ll just need their name, PAN, and date of birth) during the application itself.
Step 4: Upload Documents & Complete Live Verification
This is where you will use the files you prepared earlier.
- Link Bank Account: You will be asked to enter your bank account number and IFSC code. To verify it, you will either upload your bank proof (cancelled cheque, statement) or the system will automatically verify it by sending ₹1 to your account.
- Upload Signature: You will upload the clear photo of your signature from Step 1.
- In-Person Verification (IPV): This is a mandatory SEBI step to prove you are a real, live person. The app/website will ask for your camera permission. The process is simple:
- Liveliness Check: You will be prompted to take a live selfie.
- Video IPV: Some brokers may ask you to record a short 5-second video where you might have to hold your PAN card up to the camera or say a number that is displayed on the screen (e.g., “7-0-5”).
Step 5: e-Sign Your Application (The Final Step)
You are now at the finish line.
- The system will generate a summary of your entire application in a PDF.
- You will be redirected to the official NSDL/CDSL e-Sign portal.
- You will be asked to enter your Aadhaar number one last time.
- You will receive a final OTP on your Aadhaar-linked mobile number.
- Enter this OTP. Congratulations! You have just digitally signed and submitted your account opening form.
⏳ Section 3: What Happens Next? (After Submission)
1. Verification (Backend Process): Your application now goes to the broker’s verification team. They will manually check that:
- Your name on the PAN and Aadhaar match.
- Your photo from the IPV is clear.
- Your signature is clear and matches the one on your PAN card.
- Your bank details are correct.
2. Activation (The Waiting Game): This is no longer a “game.” The process is extremely fast.
- Timeline: If all your documents are correct, your account is typically verified and activated within a few hours to 24-48 working hours. Many large brokers activate accounts on the same day if you apply during business hours.
3. Account Activated! (Welcome Email): You will receive a “Welcome” email and SMS confirming that your account is active. This email will contain your:
- Client ID / User ID: This is what you will use to log in.
- Password: A link to set your new password.
- Demat Account (BO ID) Number: Your official 16-digit Demat number.
You can now download the broker’s trading app, log in with your new credentials, add funds from your linked bank account, and buy your first share.
⚠️ Section 4: Common Problems and How to Avoid Them
- Problem: “My application was rejected due to a name mismatch.”
- Reason: Your name on your PAN card (e.g., “Sunil K Kumar”) is different from your Aadhaar card (e.g., “Sunil Kumar”).
- Solution: You must get your name corrected on one of the documents to be identical before you can apply.
- Problem: “I am not receiving the e-Sign OTP.”
- Reason: The mobile number you are checking is not the one linked to your Aadhaar.
- Solution: You must visit an Aadhaar center to update your mobile number. There is no online fix for this.
- Problem: “My signature was rejected.”
- Reason: The photo was blurry, taken in bad light, or you signed on a ruled (lined) paper.
- Solution: Re-take a clear photo of your signature on a clean, white, un-ruled sheet of paper.